Let’s be real for a second—store-bought hummus is like gas station coffee. It gets the job done, sure, but you know there’s a better option out there.
And once you taste homemade hummus? It’s like switching from regular unleaded to premium—you feel the smooth ride instantly.
I’ve made a lot of hummus over the years (and trust me, I measure things like tahini the way I read gas mileage stats—very carefully).
This recipe is the one that finally got people to stop mid-chip, look me dead in the eye, and say, “Okay. What is this?” That’s the moment you know you’ve nailed it.
Let’s get into it.
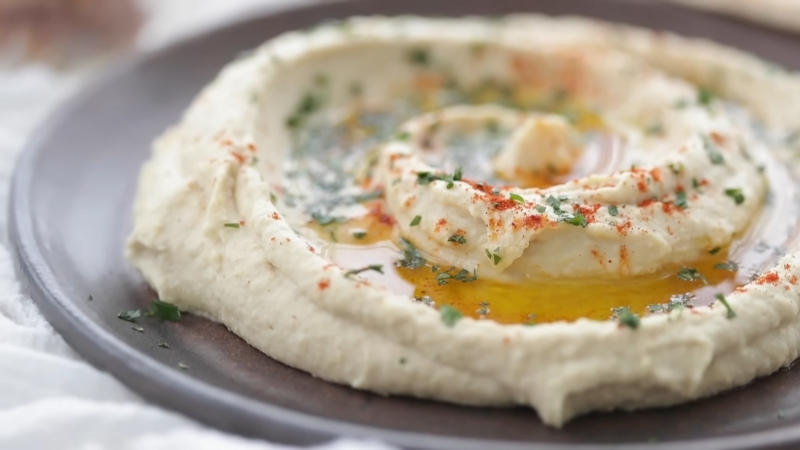
Creamy, Dreamy, Foolproof Hummus
Equipment
- Food processor (or high-powered blender, but food processor gives better texture)
- Spatula
- Measuring cups and spoons
- Optional: Small saucepan (if roasting garlic), oven (for variations like sweet potato)
Ingredients
- 15 oz chickpeas, drained and rinsed
- ¼ cup tahini
- 2-3 tbsp fresh lemon juice
- 1 small garlic clove, minced (or roasted for milder flavor)
- 2 tbsp olive oil (plus more for drizzling)
- 2-4 tbsp cold water
- ½ tsp salt
Instructions
- Gather EverythingDrain and rinse your chickpeas. Get your tahini, lemon juice, garlic, olive oil, salt, and cold water prepped. Add cumin or paprika if you like an extra flavor boost.

- Blend Tahini and Lemon FirstAdd tahini and lemon juice to your food processor. Blend for 45–60 seconds until thick and creamy. It should lighten in color.

- Add Garlic, Salt, and ChickpeasAdd minced garlic, salt, and the chickpeas. Blend until it forms a chunky paste. Scrape down the sides to make sure nothing escapes the blade.

- Drizzle in Olive OilWith the processor running, drizzle in olive oil slowly. Watch it emulsify into a creamy, luscious blend.

- Plate and GarnishSpoon hummus into a shallow bowl. Use the back of a spoon to swirl the top. Drizzle with olive oil and sprinkle on your choice of garnish—paprika, za’atar, pine nuts, etc.

- Serve or ChillServe immediately or chill for an hour for deeper flavor. Keeps well in the fridge for 4–6 days.

Video
Notes
Cooking Tips
- Blend tahini and lemon juice first for a fluffier base.
- Cold water makes a big difference—don’t skip it!
- Roasted garlic = mellow and sweet. Raw garlic = bold and punchy. Choose your fighter.
- Peeling chickpeas = ultra-smooth texture, great for impressing guests.
- Don’t be afraid to let your processor run longer than you think—it needs time to whip.
Flavor Variations: Because Hummus Doesn’t Have to Be Beige
Think of hummus like an electric vehicle platform—customizable, clean, and shockingly versatile. Once you’ve got the base down, the road ahead is wide open.
Spicy Sriracha Hummus
View this post on Instagram
- Add 1–2 teaspoons of Sriracha (or more if you’re a daredevil)
- Optional: a pinch of cayenne or chili flakes
- Swap lemon juice for lime for a little twist
Herby Green Goddess Hummus
- Toss in a big handful of fresh parsley, cilantro, or basil
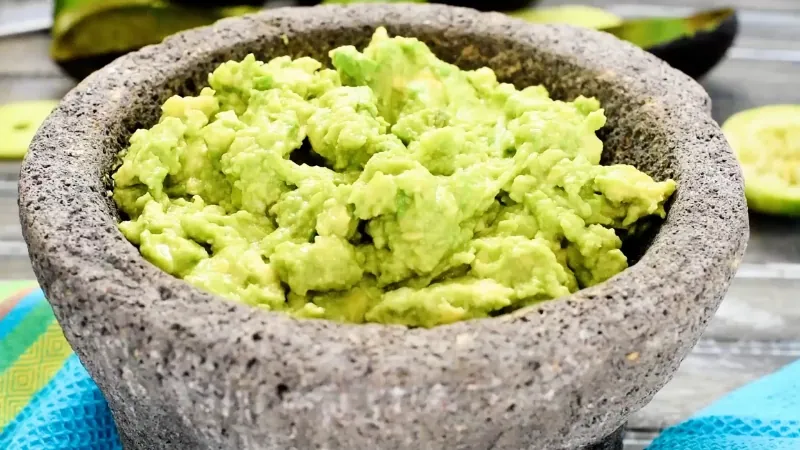
- Add ½ an avocado for extra creaminess (and yes, I see you, Millennials)
- Garlic can stay or go—your call
Roasted Sweet Potato Hummus
@thomas_strakerSweet potato hummus, roasted greens & quinoa salad♬ UNSTOPPABLE EVENING – finetune
- Add ½ cup of roasted sweet potato (cooled)
- Use smoked paprika instead of cumin
- Finish with toasted sesame seeds on top—chef’s kiss
Olive Tapenade Hummus
- Mix in chopped kalamata olives (maybe ¼ cup)
- Splash of red wine vinegar? Yes, please.
- Great with crackers, pita, or—don’t judge me—a spoon
Roasted Garlic & Caramelized Onion Hummus
Yes I have upped my hummus game –
Roasted garlic, caramelized onions and sun dried tomatoes pic.twitter.com/vf1aSyPvoF— Natürlich Äshley (@AllNaturAshley) February 22, 2025
- Roast an entire head of garlic (trust me), squeeze out those golden cloves
- Add caramelized onions (takes time, but worth every slow-cooked second)
- Use less raw garlic or none—your breath will thank you
What to Eat With Hummus (Beyond the Obvious)
Sure, pita chips and crudités are the classic sidekicks—but hummus can do more than play second fiddle at a party spread.
Try it:
Basically, if you can scoop it, spread it, or swirl it—hummus belongs there.
Make It Ahead, Keep It Fresh
Homemade hummus lasts 4–6 days in the fridge (if it even makes it that long).
Keep it in an airtight container and give it a quick stir before serving.
Want it to feel freshly made? Add a new drizzle of olive oil and a sprinkle of whatever you’re feeling that day.
It also freezes like a champ, but let’s be honest—you’re not gonna have leftovers. You’re just not.
Final Thoughts
Making hummus from scratch is one of those “small hinges that swing big doors” kind of things. It’s easy, affordable, and borderline addictive once you start customizing it. Plus, there’s something deeply satisfying about scooping into a bowl of something you made—no mystery ingredients, no preservatives, no drama.
And just like ditalini pasta adds the perfect bite to a hearty soup, homemade hummus can elevate any meal.
So next time you’re staring at that store-bought tub, think of it like overpriced premium fuel when you’ve got solar panels at home.
Get your chickpeas ready. You’ve got hummus to make.
I’m Leo McIntyre, and my love for cooking was born in my grandmother’s kitchen, where I discovered the magic of traditional Southern recipes. Inspired by her passion and the flavors of my childhood, I started SouthernParm to share these treasured family dishes and keep the rich culinary traditions of the South alive for everyone to enjoy.